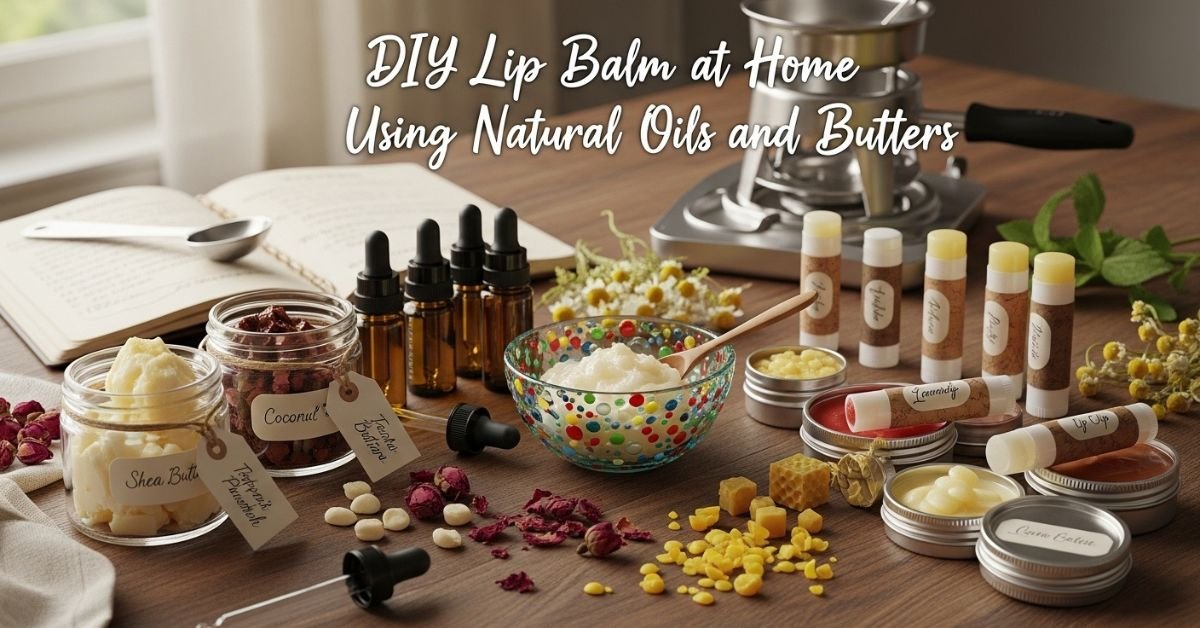
DIY Lip Balm at Home Using Natural Oils and Butters
Contents
Introduction
In a world that’s increasingly moving toward clean beauty and natural wellness, creating your own skincare products has become more than just a trend—it’s a lifestyle choice. One of the easiest and most satisfying projects you can start with is learning how to make DIY lip balm at home using natural oils and butters.
This homemade approach not only gives you full control over what goes on your lips but also ensures your product is free from harmful chemicals, parabens, and artificial fragrances. In this article, we’ll walk you through everything—from ingredients and methods to expert tips and FAQs—to help you create nourishing, long-lasting, and 100% natural lip balm.
Why Make Your Own Lip Balm?
There are several reasons why people are switching to DIY lip balm at home using natural oils and butters:
- No harsh chemicals or synthetic ingredients
- Budget-friendly — cost per tube is very low
- Customizable scent, color, and texture
- Great for gifting or selling small batches
- Eco-friendly and zero-waste options available
Key Benefits of Natural Oils and Butters
When making a homemade lip balm, your two main categories of ingredients are natural oils and plant butters. Here’s why they matter:
Natural Oils
- Coconut Oil: Offers deep hydration and antimicrobial properties.
- Olive Oil: Rich in antioxidants and vitamin E, helps soften lips.
- Jojoba Oil: Mimics skin’s natural sebum, absorbs easily.
- Sweet Almond Oil: Lightweight and full of skin-nourishing fatty acids.
Natural Butters
- Shea Butter: Loaded with vitamins A & E, heals chapped lips.
- Cocoa Butter: Forms a protective barrier, locks in moisture.
- Mango Butter: Light and fast-absorbing, excellent for sensitive skin.
Combining these two types of ingredients is the secret behind a soft, smooth, and deeply moisturizing DIY lip balm.
You Might Also Like: Natural Skin Tightening Remedies You Can Make at Home
Ingredients You’ll Need
Here’s a basic recipe to make around 8–10 lip balm tubes (or small tins):
| Ingredient | Quantity | Purpose |
|---|---|---|
| Beeswax pellets | 2 tablespoons | Solidifies balm & adds structure |
| Shea butter | 1 tablespoon | Deep moisturizer |
| Coconut oil | 1 tablespoon | Nourishment and texture |
| Sweet almond oil | 1 tablespoon | Lightweight hydration |
| Essential oil (optional) | 5–10 drops | Natural fragrance (peppermint, lavender, orange) |
| Vitamin E oil (optional) | 1 capsule or 5 drops | Natural preservative, anti-aging |
Step-by-Step Guide to Make DIY Lip Balm
Step 1: Set Up a Double Boiler
- Place a heat-safe bowl over a pot with 1–2 inches of boiling water.
- Add beeswax, shea butter, and coconut oil.
- As everything melts into a smooth liquid, stir gently.
Step 2: Add Oils and Essential Oils
- Remove from heat.
- Add essential oils (if using) and sweet almond oil and stir.
- Optional: For colour, add a small sprinkle of beetroot powder or mica powder.
Step 3: Pour into Containers
- Gently transfer the mixture into little tins or lip balm tubes.
- Let it cool and harden at room temperature for at least 1 hour.
Step 4: Label and Store
- Label your balm with ingredients and date.
- Store in a cool, dry place. Shelf life: 6–12 months.
Pro Tips for Best Results
- Don’t overheat oils—use gentle heat to retain nutrients.
- Add essential oils sparingly; some can be too strong for lips.
- Use sterilized containers to avoid contamination.
- Use candelilla wax in place of beeswax for a vegan alternative.
- Add honey or lanolin for extra healing benefits (optional).
Customization Ideas
Want to create more than just a basic balm? Try these combinations:
| Type | Additions |
|---|---|
| Cooling Balm | Peppermint essential oil + Vitamin E |
| Tinted Balm | Beetroot powder or cocoa powder |
| Healing Balm | Tea tree oil + calendula-infused oil |
| Sweet Balm | Vanilla extract + honey |
Creating DIY lip balm at home using natural oils and butters is not just a practical hobby—it’s also an opportunity to express creativity.
You Might Also Like: How to Remove Pimples.
E-A-T: Expert Insights
According to dermatologists, natural butters like shea and cocoa are especially effective for severely chapped or cracked lips. They provide emollient benefits and act as occlusive agents—meaning they lock in moisture and create a protective barrier. Using a balm with ingredients like vitamin E and essential oils can even improve lip texture over time.
Trustworthy resources like the Environmental Working Group (EWG) and DermNet NZ support the safety and efficacy of these ingredients, especially when compared to synthetic lip care products that may contain drying alcohols or petroleum derivatives.
Frequently Asked Questions (FAQs)
Q1: How long does homemade lip balm last?
A: Your balm should last six to twelve months if stored correctly in a cool, dry location. Using vitamin E oil helps extend shelf life.
Q2: Can I skip beeswax?
A: Yes. For a vegan alternative, use candelilla wax or carnauba wax as a substitute.
Q3: Is it safe to use essential oils on lips?
A: Only lip-safe essential oils should be used (like peppermint, lavender, or orange). Avoid strong ones like cinnamon or clove.
Q4: What container is best for storing lip balm?
A: Use twist-up lip balm tubes or small tins with secure lids. Always sterilize before use to avoid contamination.
Q5: Can I make this lip balm in bulk?
A: Absolutely! Double or triple the recipe for gift baskets, wedding favors, or even small business batches.
Conclusion
Making your own DIY lip balm at home using natural oils and butters is a smart, sustainable, and satisfying way to care for your lips. With simple, skin-loving ingredients and a few easy steps, you can create a nourishing product tailored exactly to your needs.
Whether you want soft lips, cleaner skincare, or a fun DIY project—this guide covers everything you need. Try it today and say goodbye to dry, cracked lips the natural way!


Post Comment